When you’re crafting a post or page on WordPress, it can be very easy to overlook the visual aspects of the final product. It’s important to take readability and organization into account. You can have the best copy in the world, but people aren’t going to want to read your page if it looks like a large block of text.
One of the best ways to make your page more visually appealing is to include horizontal lines. Simple lines can keep various sections of your page separated and organized. It makes the content easier to read and helps the reader find the find the section they’re looking for.
Adding lines horizontal lines is quite easy. You can do it on the Visual Editor or the Text editor.
Adding Horizontal Lines in the HTML Text Editor
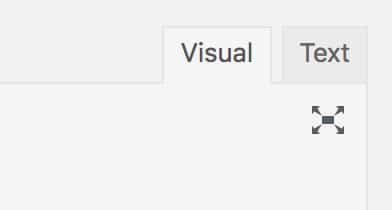
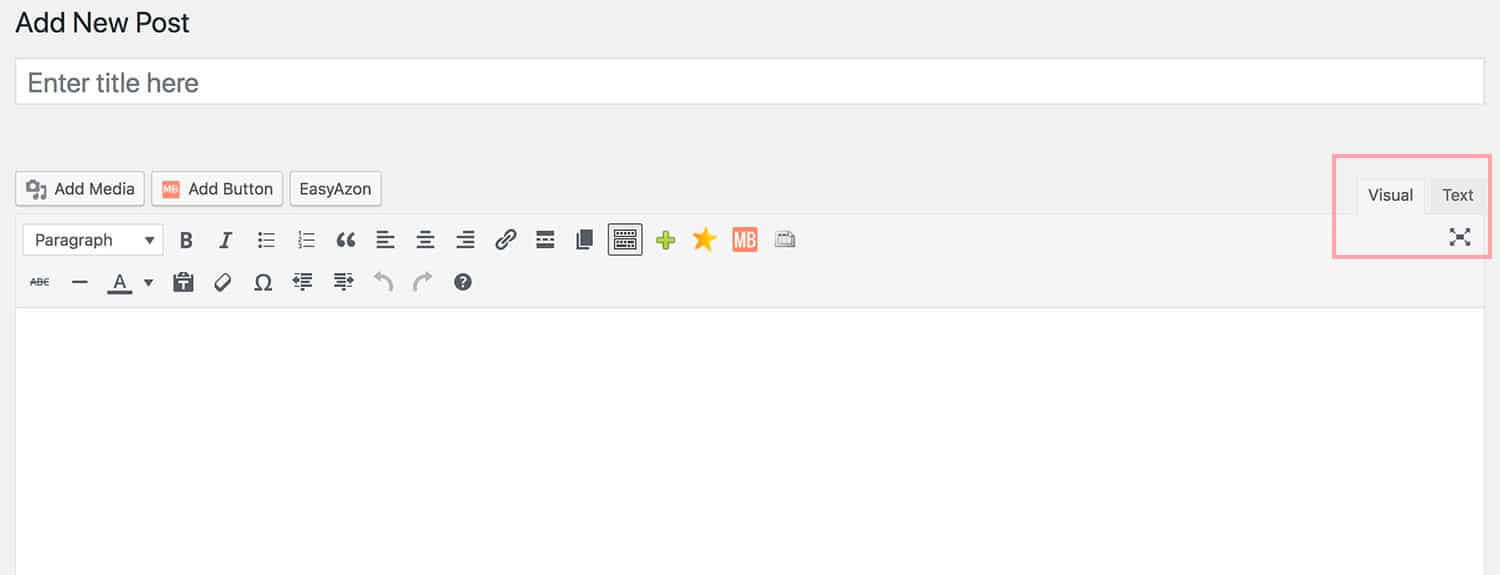
If you’re comfortable working with HTML in the text editor, this is a very easy way to get the job done. When you’re crafting your page on the editing screen, you need to switch to HTML Text Editor. To do this, simply click on the tab labeled “TEXT” on the upper right corner of the editor window. Shown below (highlighted in red box)
You’re now in the HTML Editor. You should still be able to see the text you have written. The only difference is that all of the text is in one style. You’ll also be able to see the HTML code for all of your styling cues, such as bold or italicized text.
To insert a horizontal line, move the text cursor to where you want the line. Then, hit the “Enter” key to create a new HTML line. In this blank HTML line, type the following code:
<hr />
It’s as simple as that! You can add multiple horizontal lines throughout the page. You can even use double lines by creating another HTML line with the same code.
<hr />
<hr />
It’s important that you don’t switch back and forth between the Visual Editor and HTML Editor. Doing so can result in formatting discrepancies. Once you have added the horizontal line, click “Update File” to save the changes.
Adding a Horizontal Lines in the Visual Editor
You can also create horizontal lines within the Visual Editor. While older versions of the WordPress editor required you to do some code modification to do this, the modern platform has this functionality built right in.
On the Visual Editor screen, you’ll notice a row of buttons. These buttons allow you to create automatic style changes without having to input code manually. The default row of buttons only contains a limited selection of features. However, if you look to the right of these buttons, you’ll notice three small dots. When you hover your mouse over these dots, the “Toggle Advanced” label will pop up.
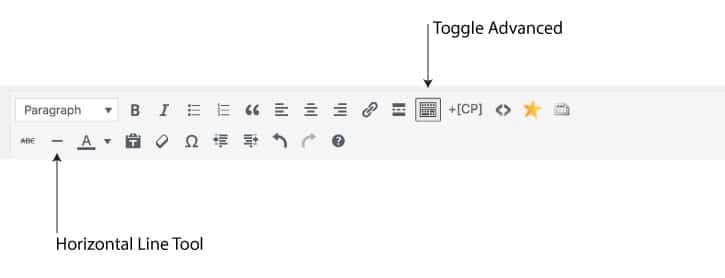
Click this to reveal the second row of style buttons. The third button from the left is the horizontal line button. Simply place the text cursor where you want to insert the line. Press the horizontal line button and it will appear automatically. You can press this button as many times as you want to create multiple lines.
Creating Horiztonal Lines Quickly
In addition to using the designated editor button, you can create horizontal lines with a few keystrokes. WordPress has a convenient shortcut command so that you can keep on typing. To create a line, simply type “—” on an empty text line. Then, hit “Enter” on your keyboard. When you hit “Enter,” the three dashes will transform into a horizontal line.
You can find more information about this keyboard shortcut, as well as several others, by pressing the question mark button on the far right side of the second row of Visual Editor buttons.
Jamie Spencer
Latest posts by Jamie Spencer (see all)
- How To Make Money As A Kid In 2025 – 6 to 16 Years Old - December 9, 2025
- 17 Of The Best Google Adsense Alternatives 2025 - October 13, 2025
- How to Start a Successful Cryptocurrency Website - September 12, 2024